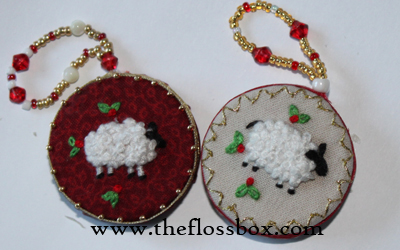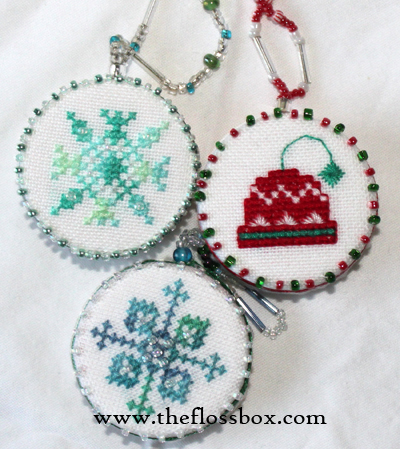
Use plastic and metal bottle caps and jar lids to make these fun ornaments!
Materials:
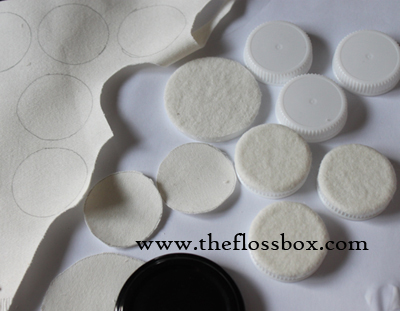
bottlecaps and jar lids felt, flannel or some other soft fabric
glue
sewing thread
trims and beads for embellishing and making a hanger
small stitchings to fit on the caps
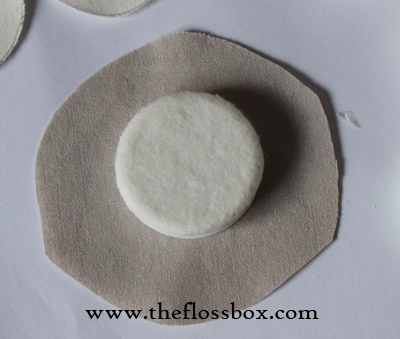
Step 1:
Cut circles of the felt or flannel to fit the tops of the bottle caps and glue them on.
Step 2:
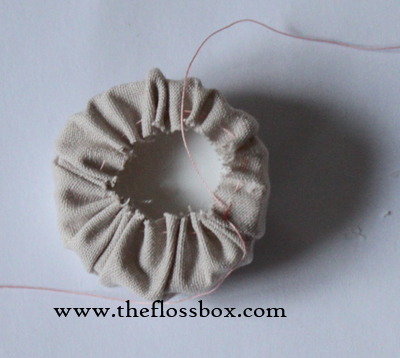
Cut the stitched pieces an inch or so beyond the size of the cap. Then
do a running stitch about 1/8th of an inch from the edge.
Put the cap inside the circle and pull the thread tight, center the
stitching and tie a knot.
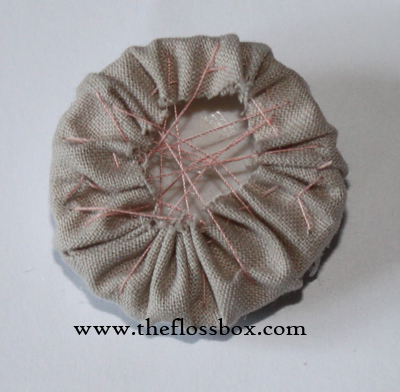
To make the fabric tighter over the cap sew across the back of the fabric until the fabric is sewn in place.

Step 3:
You can add a band around the cap, so the wrinkles in the fabric aren’t
noticeable. Then sew on beads or add a little embroidery around the
edge of the cap.
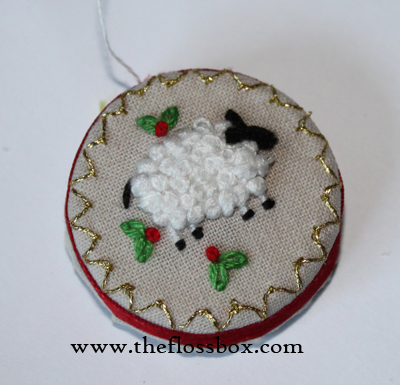
Step 4: Glue a piece of fabric or felt over the back of the cap. Add a hanger out of beads or ribbon or cord to the top.