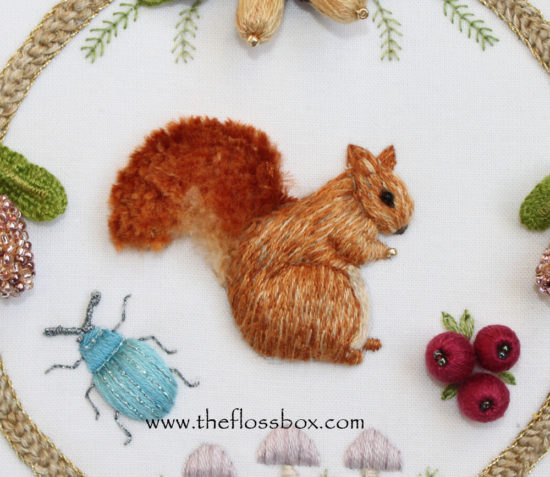
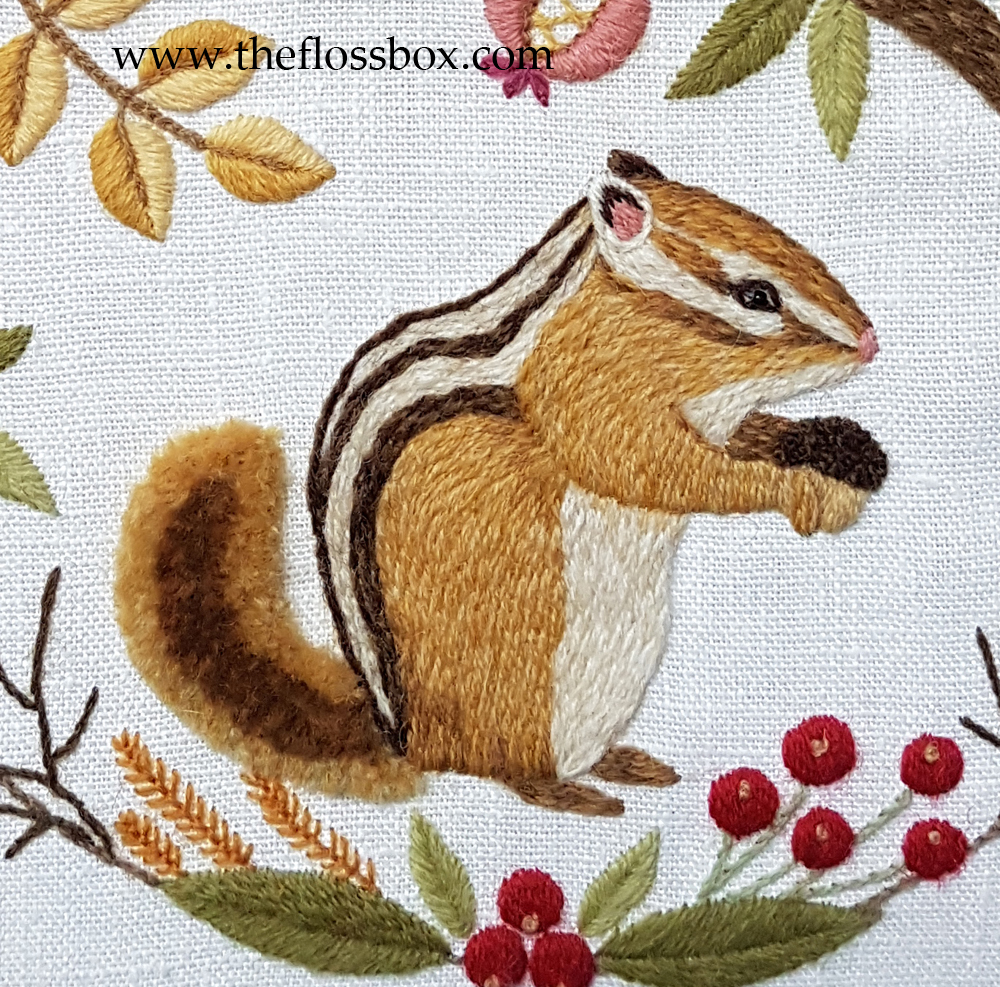
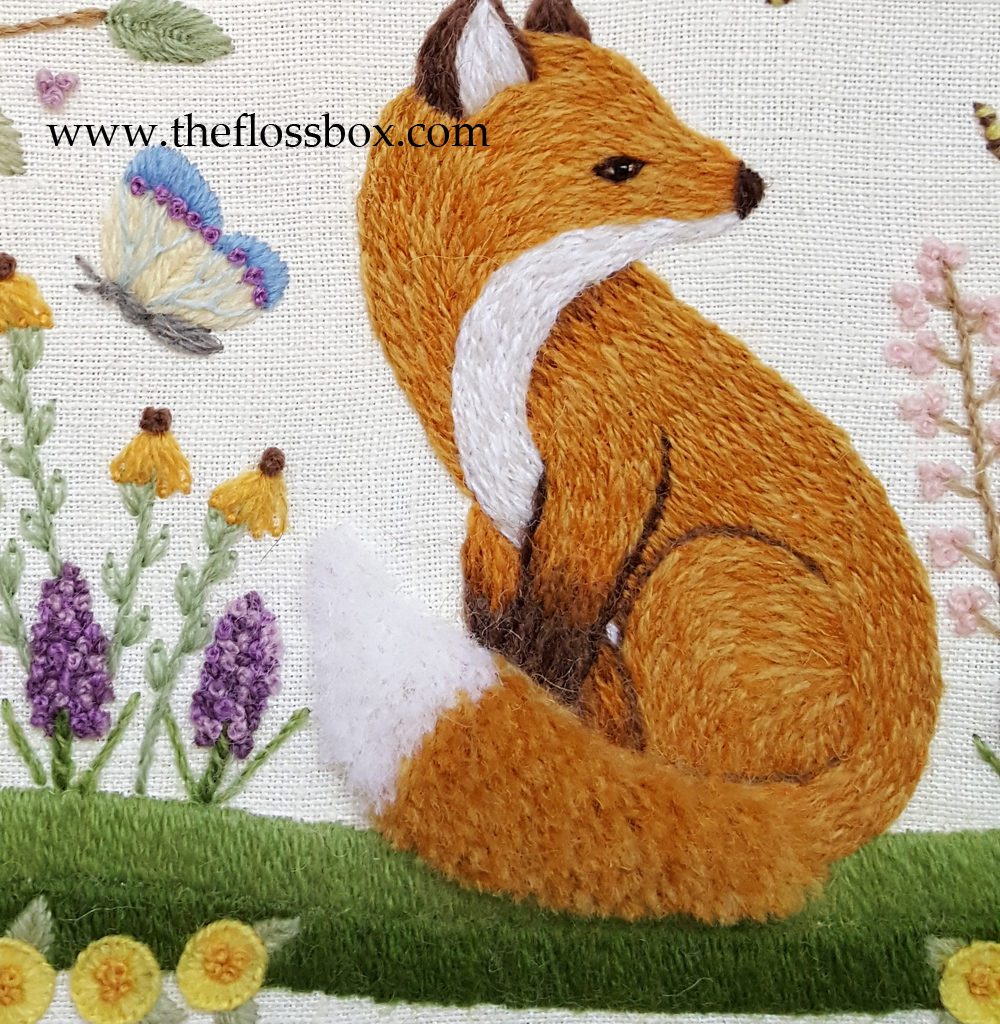
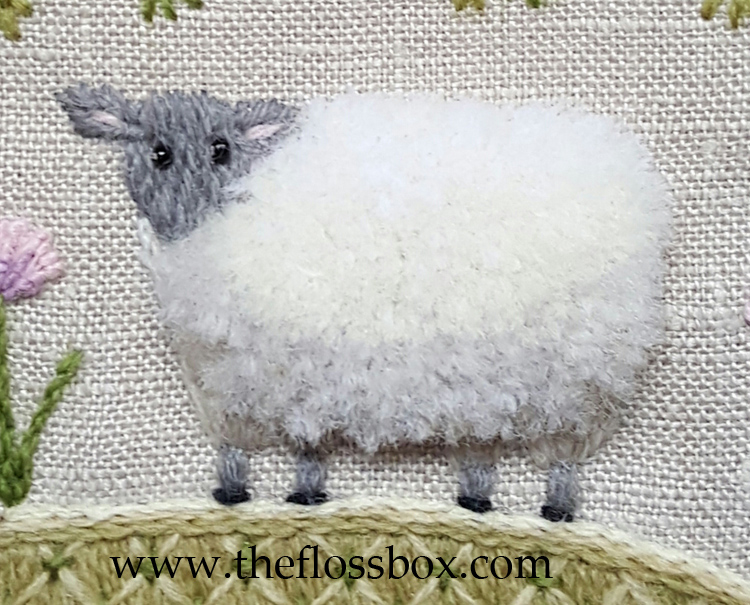
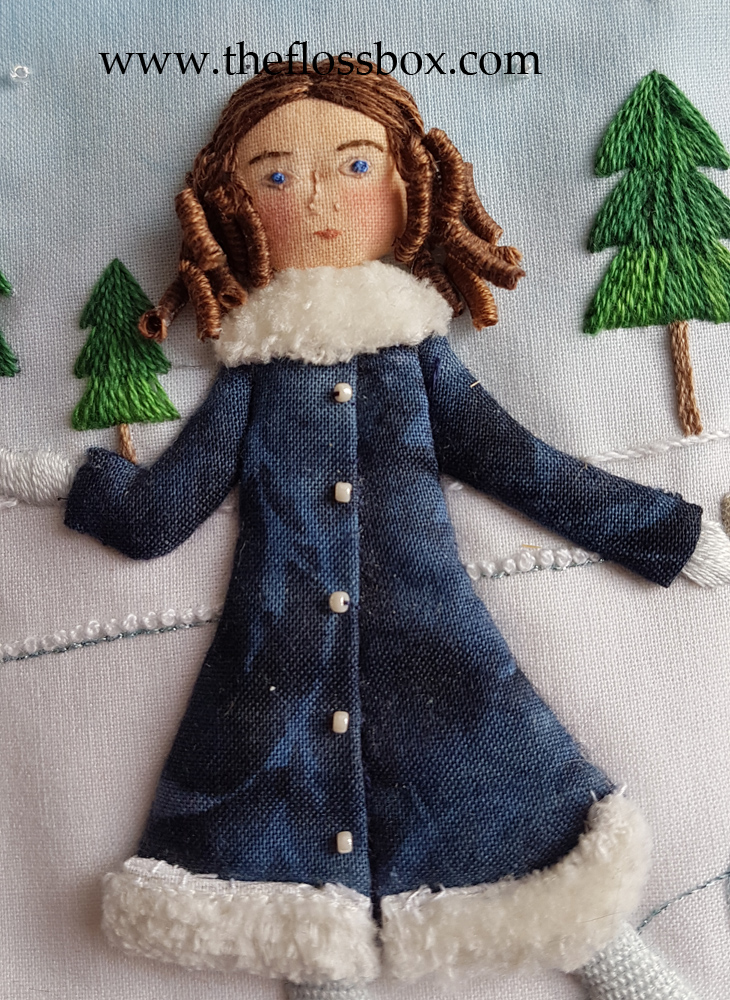
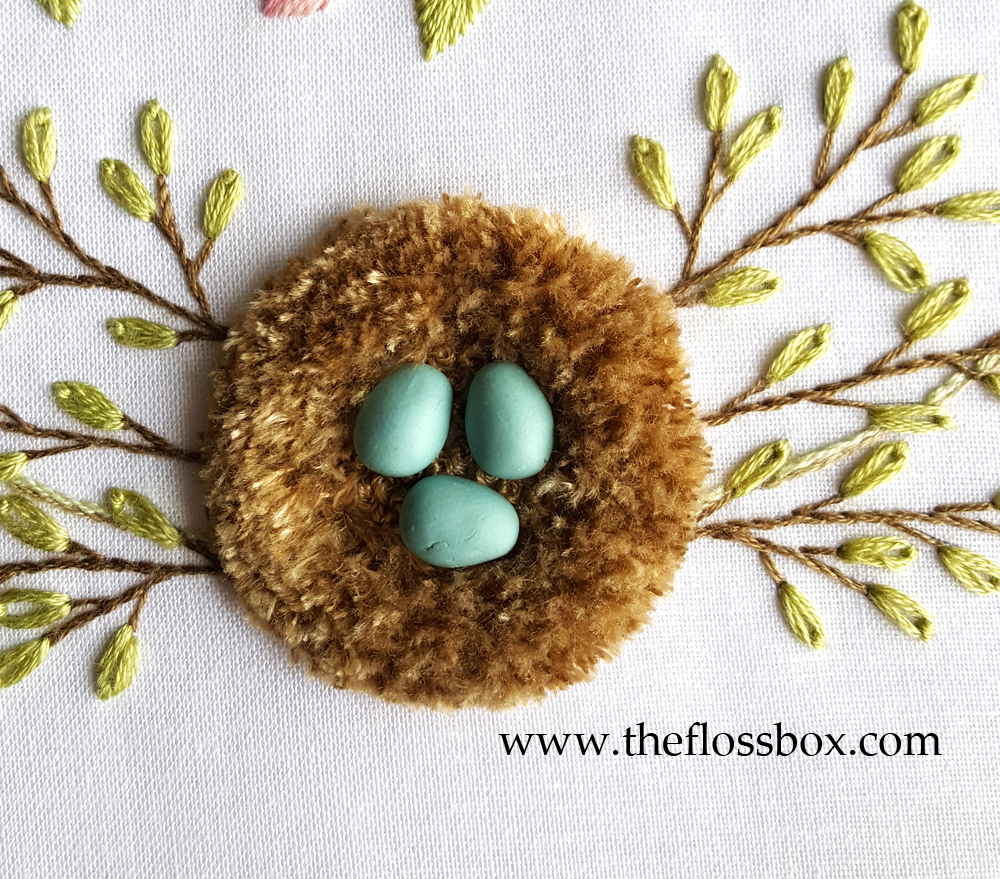
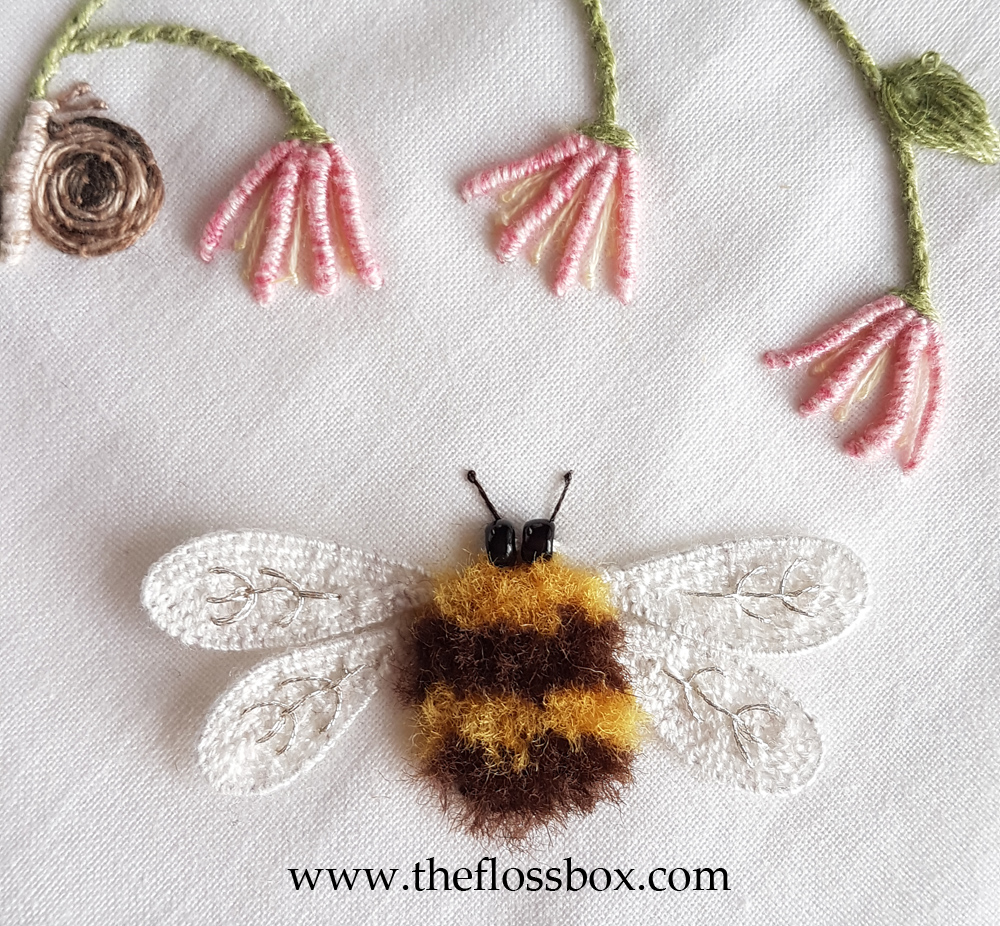
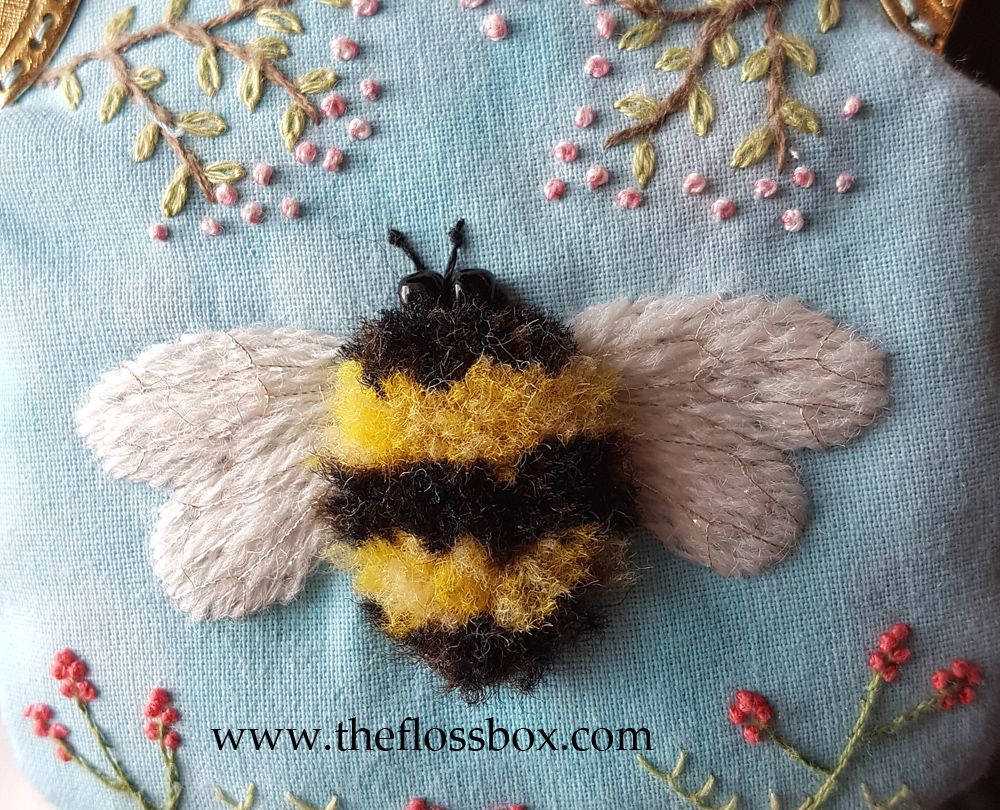
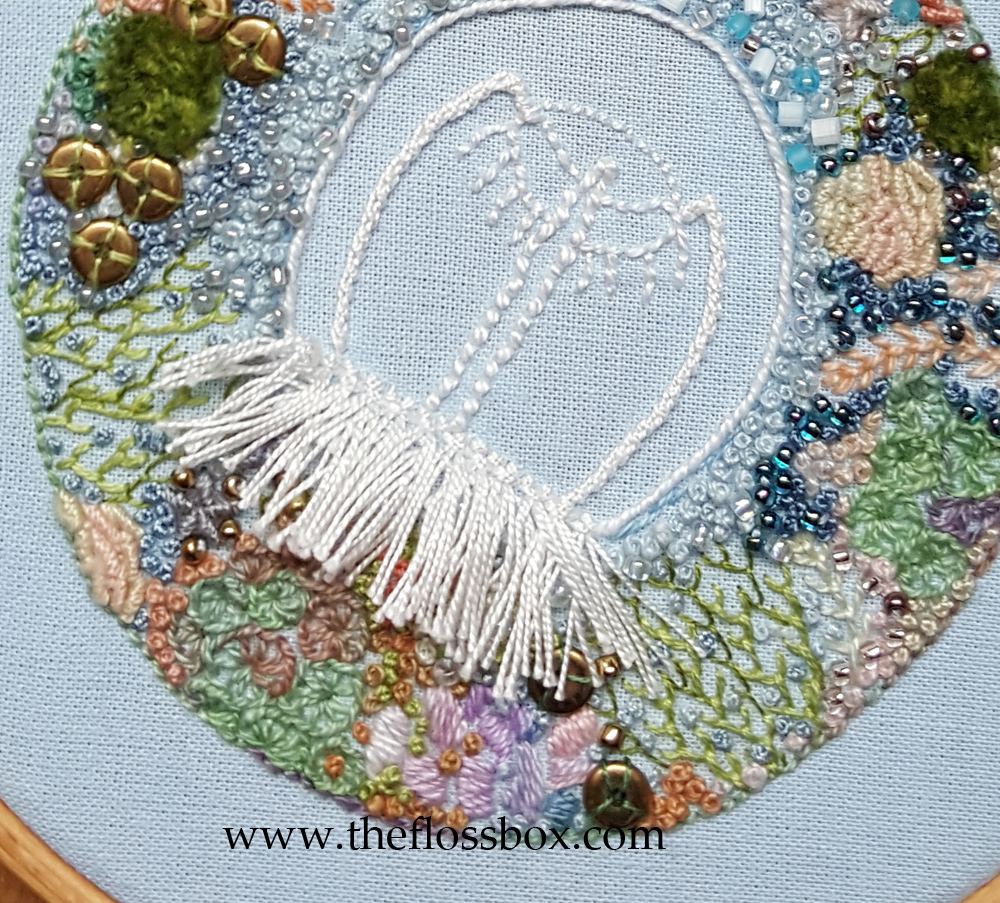
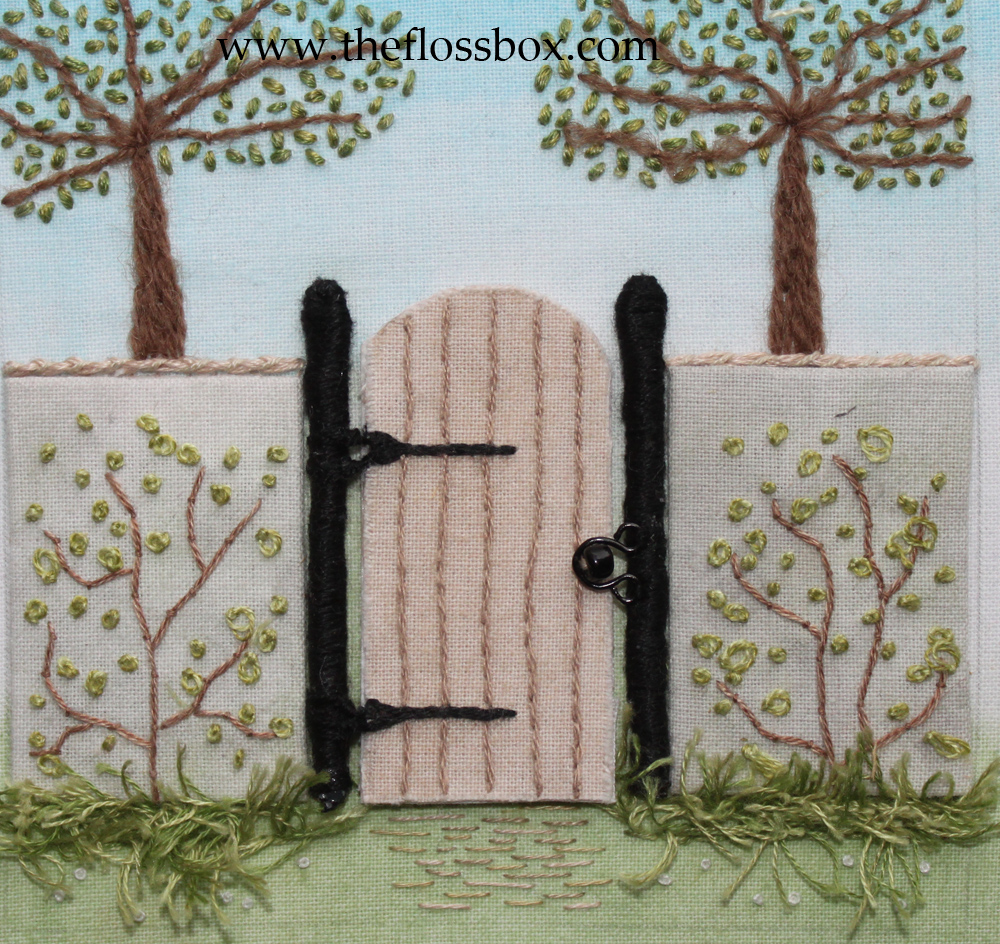
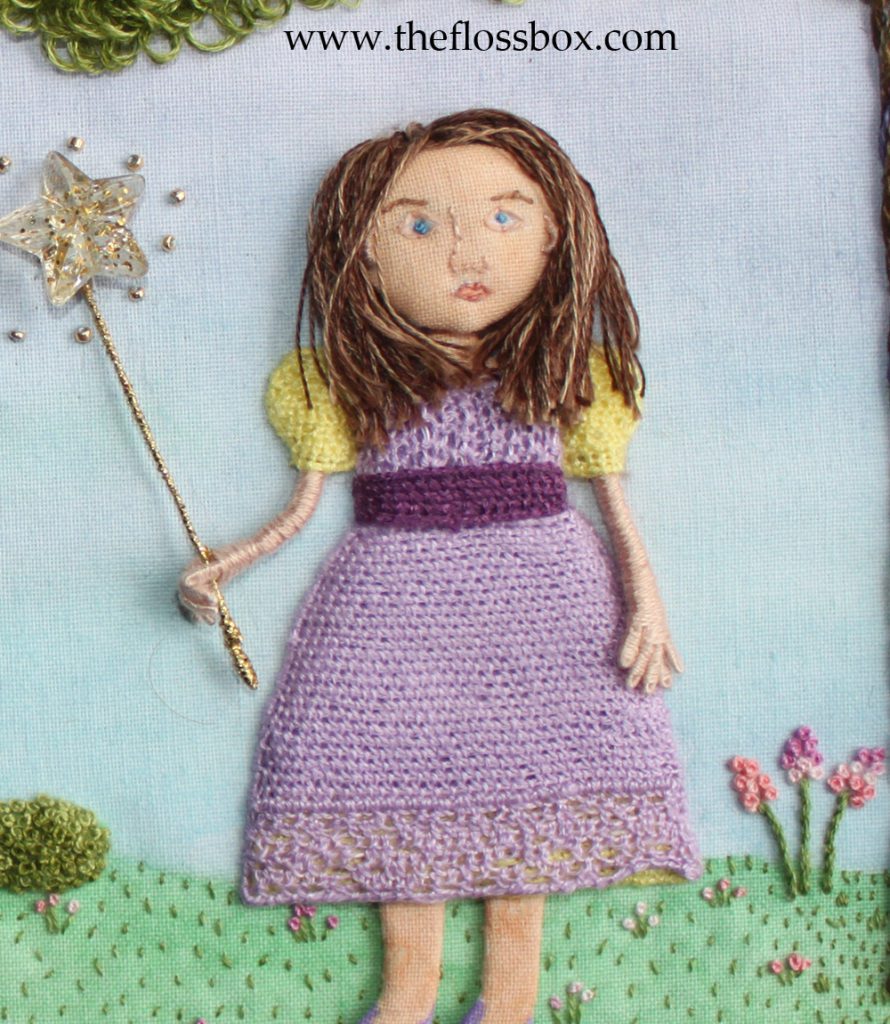
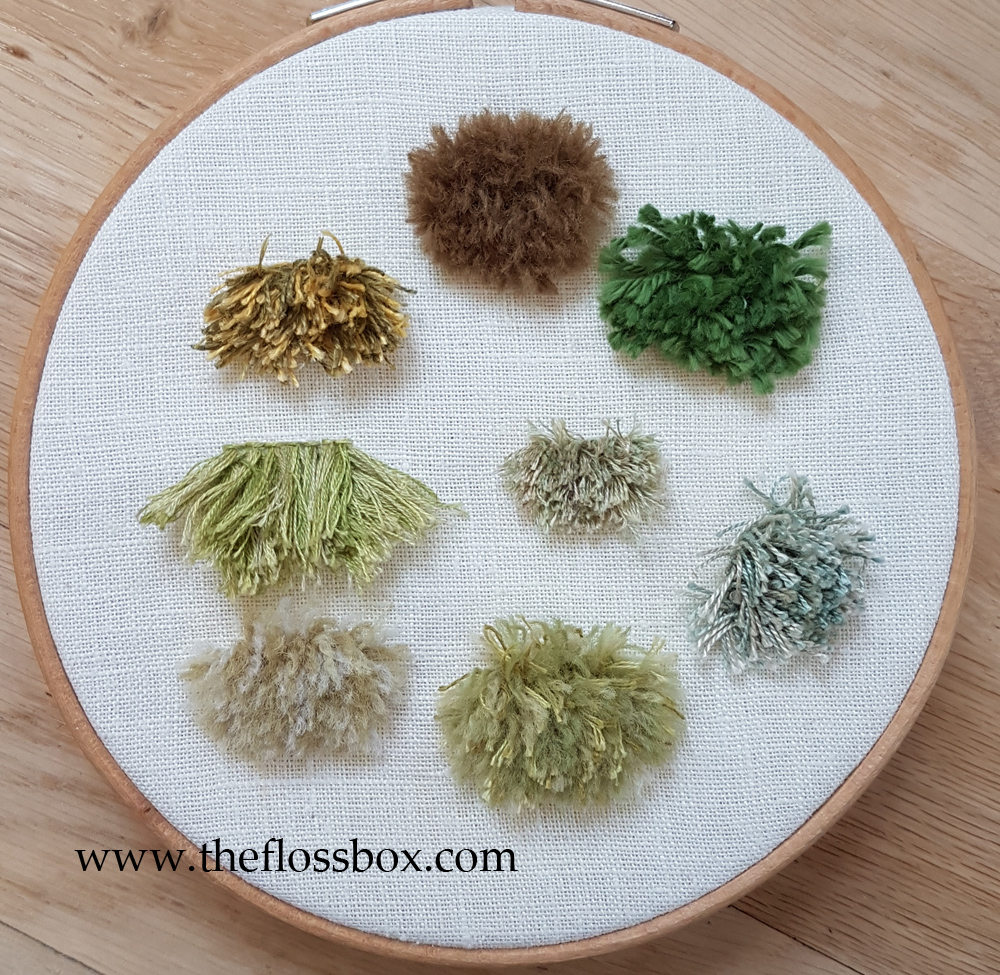
Turkey knots are a very nice dimensional stitch that can add a lot of interest to your embroidery. It can be used as fur, grass, hair, or details on clothing, for example.
This stitch is done in two parts. First make the knots:
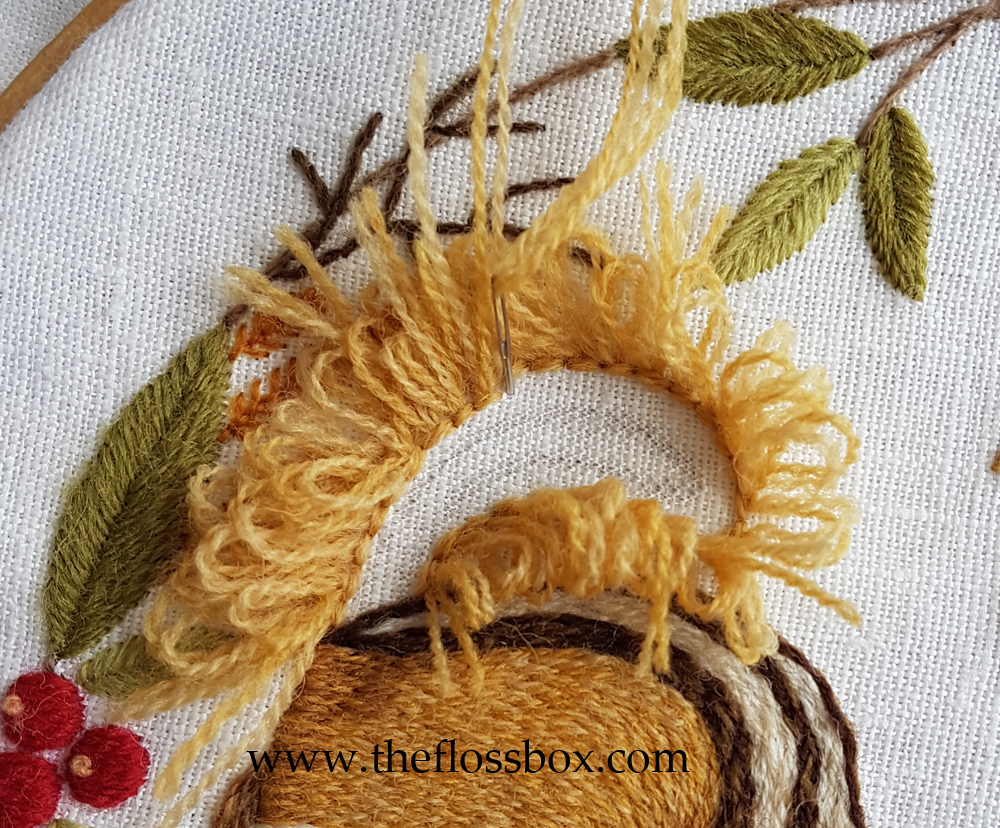
Send down your needle and bring it up to the side a little. Leave a small tail, depending on how big you want your loops to be when cut. Now make a stitch over where you first brought the needle up.
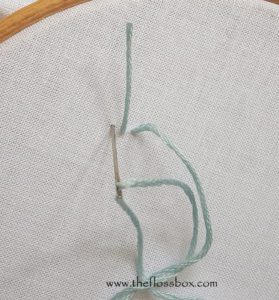

Then bring the needle up again right next to the tail you made in the first stitch. Bring the needle down to the right of the small stitch. Don’t pull the thread all the way through. Leave a loop here.
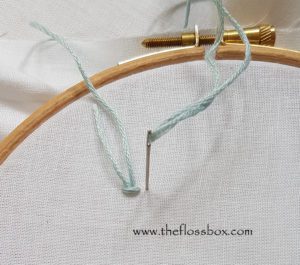

Bring up the needle to the side of your new loop and make a small stitch over the loop as shown.
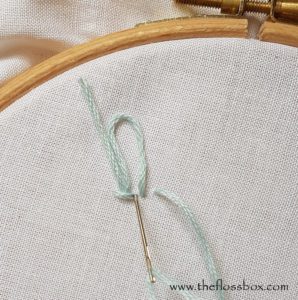

Then repeat these steps by bring the needle up again right next to the loop stitch, make another loops and then another small stitch over the loop. When you reach the end of your line or run out of thread, just bring the needle up as if to make the next loop, but leave the tail hanging. You can continue the next loop stitch by starting at the top of of these instructions (leave a tail hanging and start making more loop stitches.)
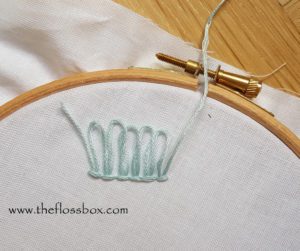

The final step is to clip down the loops to the desired length. Work slowly so you don’t over-cut them. If you want a rounded shape, then be sure to leave the threads longer in the center. You can use a small brush on your clipped threads to make a nice, rounded, soft area. As you brush the threads, continue clipping those that stick out. It works especially well to brush cotton floss.
