This stitch is called by everyone Jacobean Couching, but everyone also seems to have another name for it, like Laid Filling or Trellis Stitch. This stitch is one of the classic crewel embroidery stitches. It creates a nice patterned filling stitch and is often used in stitching larger areas.
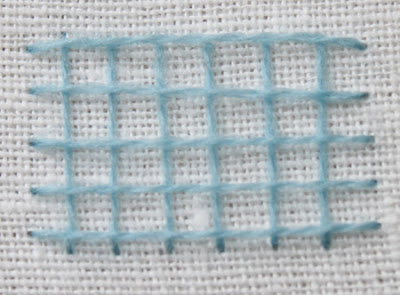
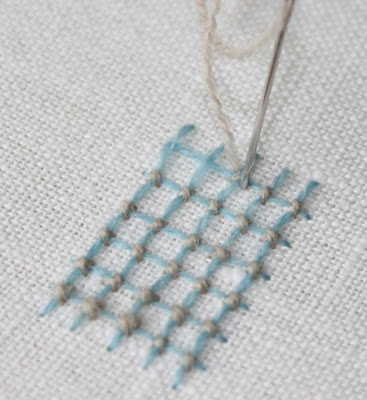
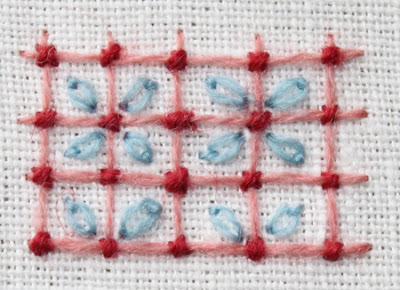
There are three steps to this stitch, making a grid of long stitches which can be either upright or at an angle, anchoring down the long stitches at the intersections, and making a filling stitch in the grid’s squares or diamonds. Actually the filling stitch is optional, but it’s very common to have one.
It’s straightforward enough to make the grid. Making an upright grid is easiest, the diagonal grids can be a real challenge, since it’s so easy to change the angles.
Then make small anchoring stitches. These can be whole crosses or half or some other variation of your choosing, but they really are a must as they hold down some very long stitches.
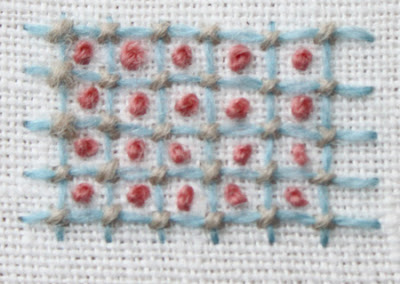
Then I just added a simple filling of french knots.
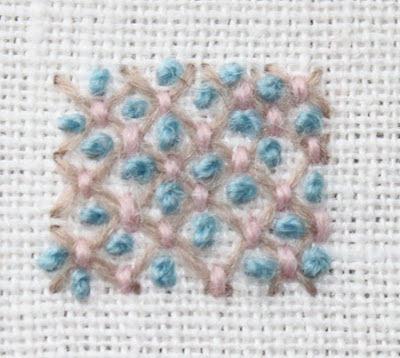
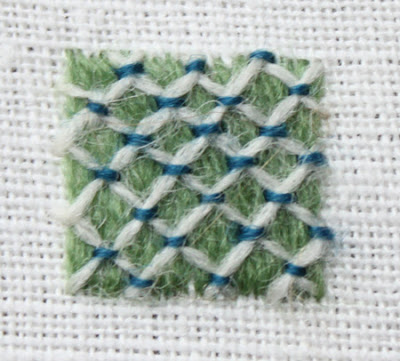
I made a few other samples. The first is with a diagonal filling and a single horizontal anchoring stitch.
Another option for fillings is detached chain stitches.
And finally, you can do a satin stitch filling, but you stitch this first, then the grid on top of it, followed by the anchoring stitches.
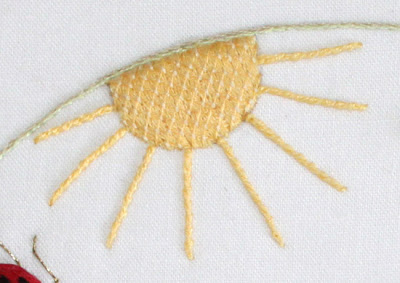
An example of this stitch used in a project.
It’s an easy way to add some interest to a larger filled area.
I hope this lesson was useful! There will be a little project to stitch at the end of this Fall Stitch School lesson, so you can practice a bit of crewel embroidery yourself!

Just love your stitching Emily, so very neat….love the sun.
omg…fab tutorial but I know you are sick of me saying that everytime you give us new instruction but I just get so rhilllled up when I see these:)
My finger tips start a itchin and my yarn is a twitchin……..happy weekend…..
Beautiful! Good tutorial.
very nice thank you so much